Sterilizing Glass Jars for Water Canning: A Step-by-Step Guide
Proper sterilization of glass jars is essential when preserving fruits or vegetables using the water-canning method, especially if your recipe calls for less than 10 minutes of processing in a boiling water canner. For recipes requiring over 10 minutes of processing, the jars are sufficiently sterilized during the canning process. Similarly, if you’re using a pressure canner, there’s no need to pre-sterilize, as the high heat will naturally sanitize the jars.
It’s important to note that this is the only USDA-approved method for jar sterilization. Contrary to some misinformation, sterilizing jars in a dishwasher or oven is not considered safe.
What You’ll Need for Sterilizing Jars
You’re all set to start if you have a home canning kit. If not, you’ll need a few essential items:
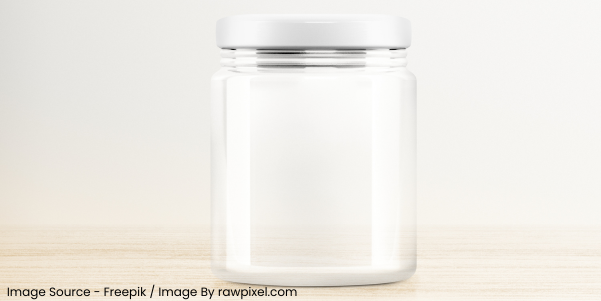
- Glass canning jars (tempered with a two-piece vacuum cap: a metal screw band and a flat, rubber-lined lid)
- Boiling water canner or a large pot fitted with a rack
- Jar lifter or kitchen tongs
Ensure your pot is large enough to fully submerge the jars with an inch of water above them.
Adjusting for High Elevations
The boiling point of water decreases at higher altitudes, meaning you’ll need to adjust the sterilization time. Begin with the standard 10 minutes of boiling time at sea level and add one minute for each 1,000-foot increase in elevation:
- Sea level to 1,000 ft: 10 minutes
- 1,000 to 2,000 ft: 11 minutes
- 2,000 to 3,000 ft: 12 minutes
- 3,000 to 4,000 ft: 13 minutes
- 4,000 to 5,000 ft: 14 minutes
- 5,000 to 6,000 ft: 15 minutes
- 6,000 to 7,000 ft: 16 minutes
Step-by-Step Sterilization Process
Sterilizing glass jars is a straightforward process that takes around 25 minutes:
- Place the empty jars upright in the canner or pot. After filling the jars with food, the same pot can later be used for the boiling water bath.
- Cover the jars with hot (not boiling) water. Ensure the water is one inch above the jars.
- Heat the water until it reaches a full rolling boil.
- Boil the jars for the recommended time based on your altitude.
- Once the time is up, turn off the heat. If you’re not immediately ready to can, leave the jars in the hot water for up to an hour.
- Using a jar lifter or tongs, carefully remove the jars, drain them, and dry them on a clean surface.
Warning: Sterilizing jars won’t be practical if the surrounding area is unclean. Always ensure your work area, including any dish towels used for drying, is sanitary. It’s best to proceed with canning immediately after sterilizing the jars. If you wait over an hour, you must sterilize the jars again.
Cleaning the Lids and Rings
Never boil metal canning lids or rings, as the high heat can damage the rubber seal, risking contamination. Instead, please place them in simmering water (not boiling) for about 10 minutes to clean. Once the water cools slightly, you can use the same water that was used for the jars. Always follow the manufacturer’s recommendations for handling the lids and rings to avoid sealing issues.
By following these guidelines, you’ll ensure that your glass jars are properly sterilized, keeping your jams, jellies, and preserves safe for consumption.
Summary
This article provides a detailed guide on sterilizing glass jars for water canning. It explains when sterilization is necessary, how to adjust boiling times based on altitude, and the proper equipment needed, such as a boiling water canner, jar lifter, and tempered glass jars with vacuum caps. The guide covers the step-by-step process for sterilization and emphasizes the importance of cleanliness to avoid contamination. It also advises against using unsafe methods like dishwashers or ovens for sterilizing jars.